Walkthrough
Here Be Spoilers
This page gives away every quest solution, boss fight, hidden room and story secret in the game.
Every quest, every dungeon, every reward
Download the PDF edition (5.7 MB, parchment, print-ready)
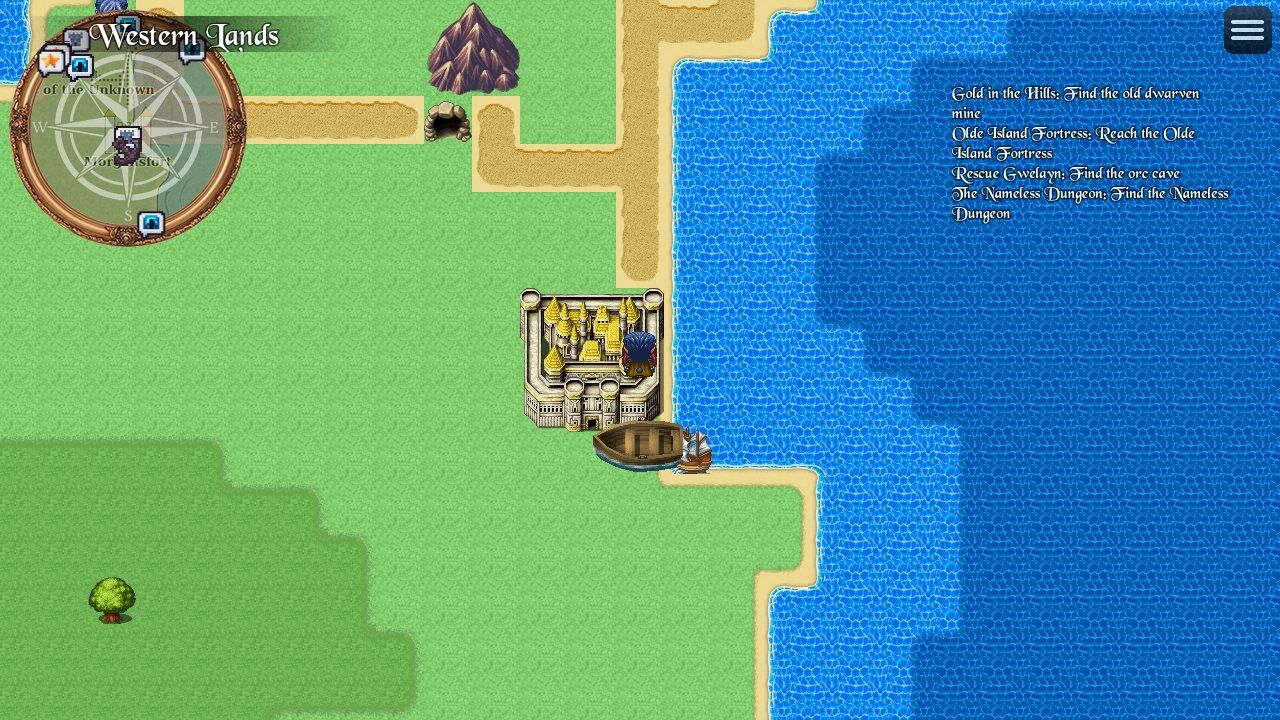
This walkthrough follows the six quests of CoolRPG Volume I in the order the Morgansfort module suggests. It is full of spoilers: room contents, bosses and treasure. Directions are given from the Morgansfort gate on the world map; north is up.
Suggested order: Gold in the Hills, then the Olde Island Fortress, then the Nameless Dungeon, with Rescue Gwelayn whenever you are back in town and ready for a harder fight. Proof of Worthiness and the Pirate King open up the wider Western Lands.
Before You Set Out
- Open the Weapons Cache in the Hall of Transference: 500 gold and your class's kit.
- Recruit companions around Morgansfort. Talk to each one; up to three can join you. The rest wait at the inn.
- Buy potions at General Goods and, for a Magic-User, train a second spell at the Chapel of St. Queril once a slot opens.
- Visit the Toothless Dragon Tavern. Dusty Rennick, Bart and Kardon Karien all have work for you.
- Rest at the Iron Helm Inn (10 gold) before every dungeon.
Every dungeon room plays its description, battle or trap once, and every hoard is taken once, so there is nothing to farm. Fallen companions can be raised at any church for 500 gold per level.
Quest 1: Gold in the Hills
Giver: Dusty Rennick, a grizzled prospector in the Toothless Dragon Tavern. Where: an old dwarven mine north of Morgansfort, a short walk up the world map from the gate. Goal: break the Black Fang goblins and slay their chief, Xikek "the Loud". Reward: 250 gold from Rennick, and the Gold in the Hills achievement.
"Word is, the Black Fang goblins have been flashing gold nuggets around town. They lair in one of the old dwarven mines north of here."
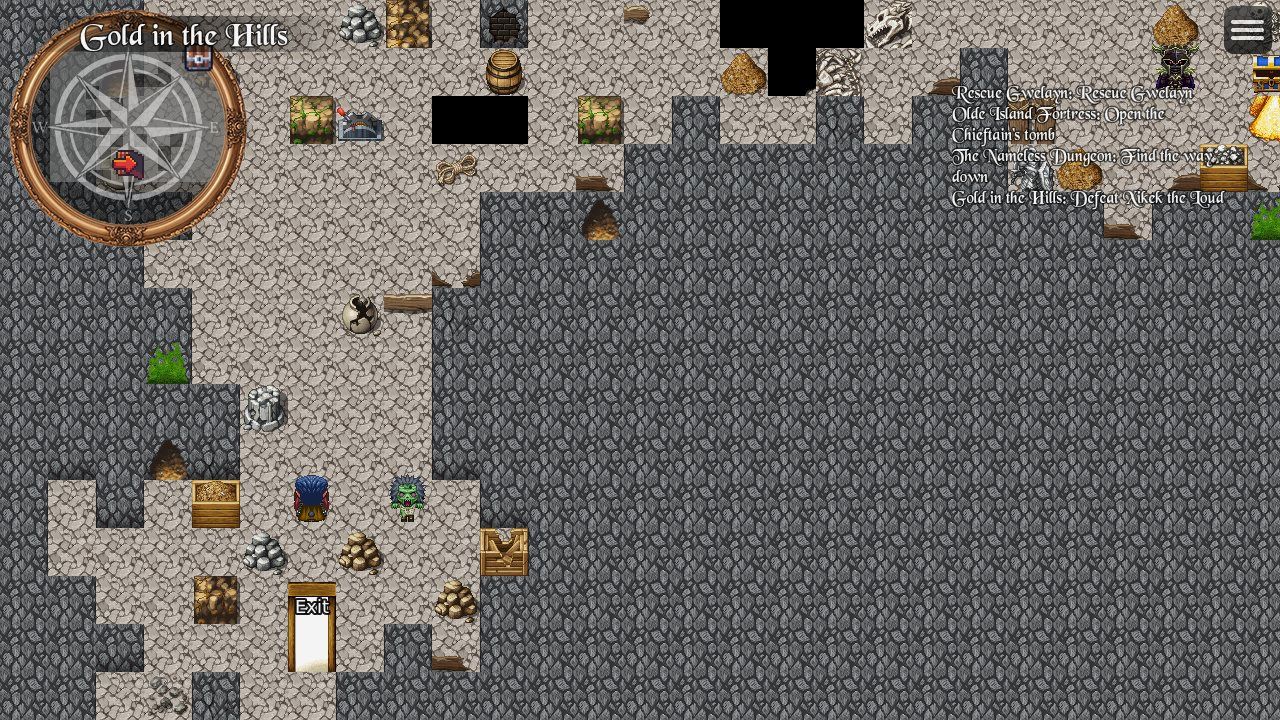
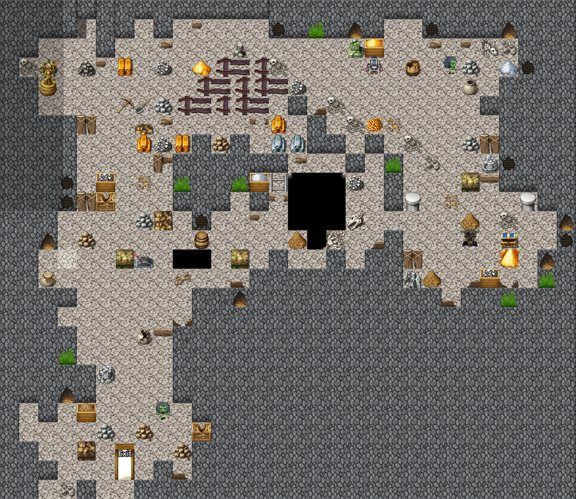
The mine. Goblin guards hold the upper galleries and the dwarves left traps behind them. A tentacle worm lurks in the old elevator shaft. Work your way down to the ore heaps where Xikek and his lieutenants Snerk and Yuliak wait with the war band. The boss fight cannot be fled, so arrive rested. The chief's chamber holds a trapped treasure chest; disarm it with care for the full hoard.
Return to Rennick for your reward. The quest is complete the moment Xikek falls.
Quest 2: The Olde Island Fortress
Giver: Bart, a one-eyed farmer in the Toothless Dragon Tavern. Where: an island a few hundred yards off the coast, south of Morgansfort along the Old Road. Goal: open the tomb of the barbarian chieftain. Reward: the chieftain's golden Longsword +1, a Chain Mail +1, a Ring of Protection +1, hoards of gold, and Bart buys the drinks.
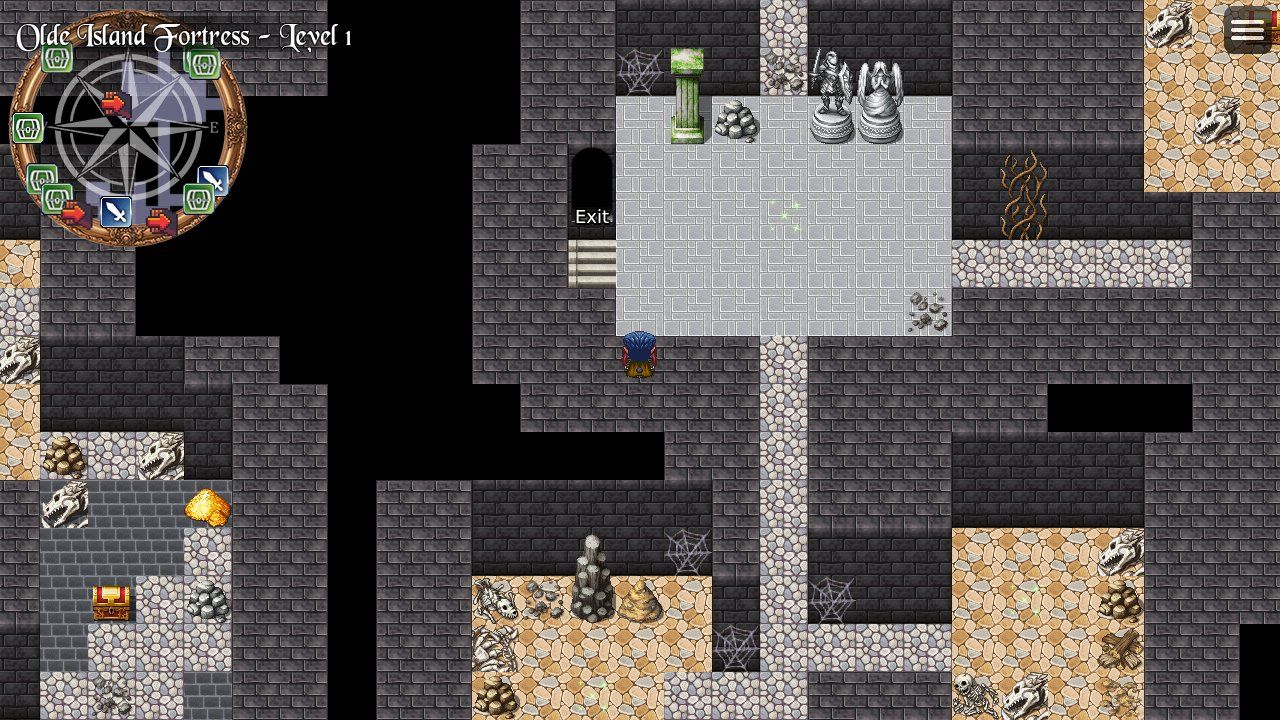
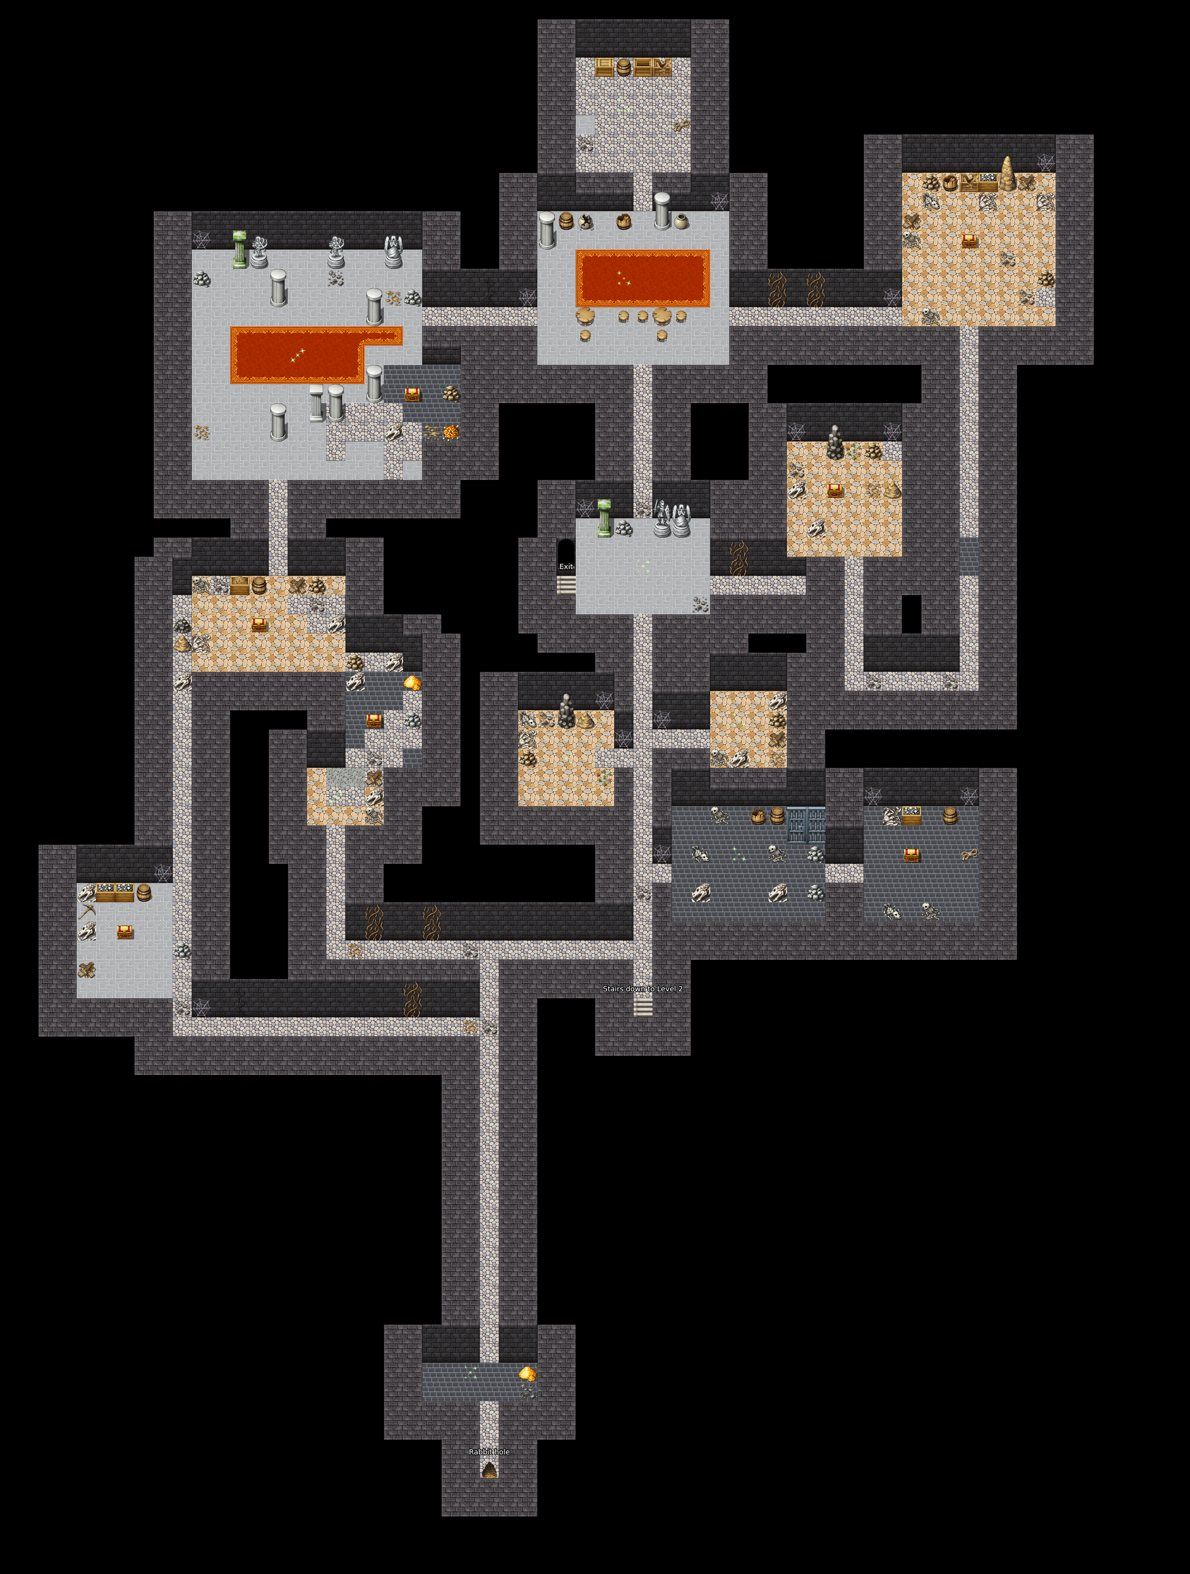
Level 1
| Room | What you find |
|---|---|
| 1 Entrance Room | Tracks in the dust. Something growls to the south. |
| 2 Wolf Lair | Wolves leap the pit in the hallway. |
| 3 Stirge Nests | Stirges swoop down for blood. |
| 5 Torture Room | A Ring of Protection +1 in a slime-filled barrel. |
| 6 Goblin Hideout | Four goblin scouts. |
| 7 Secret Hallway | A chest with 60 gold. |
| 8 Rogue Orcs | Five outcast orcs; 45 gold. |
| 9 Goblin Lair | The rest of the goblin party; 20 gold. |
| 11 Secret Room | 40 gold in rotted sacks. |
| 14 Kobold Lair | A kobold clan and its chieftain; 70 gold. |
| 15 The Hive | Giant bees, and a potion. |
| 16 Rabbit Hole | A tunnel back up to daylight on the island. |
The goblins and kobolds are at war over the fortress; you will fight both. The stairs down to Level 2 are in the south hall.
Level 2
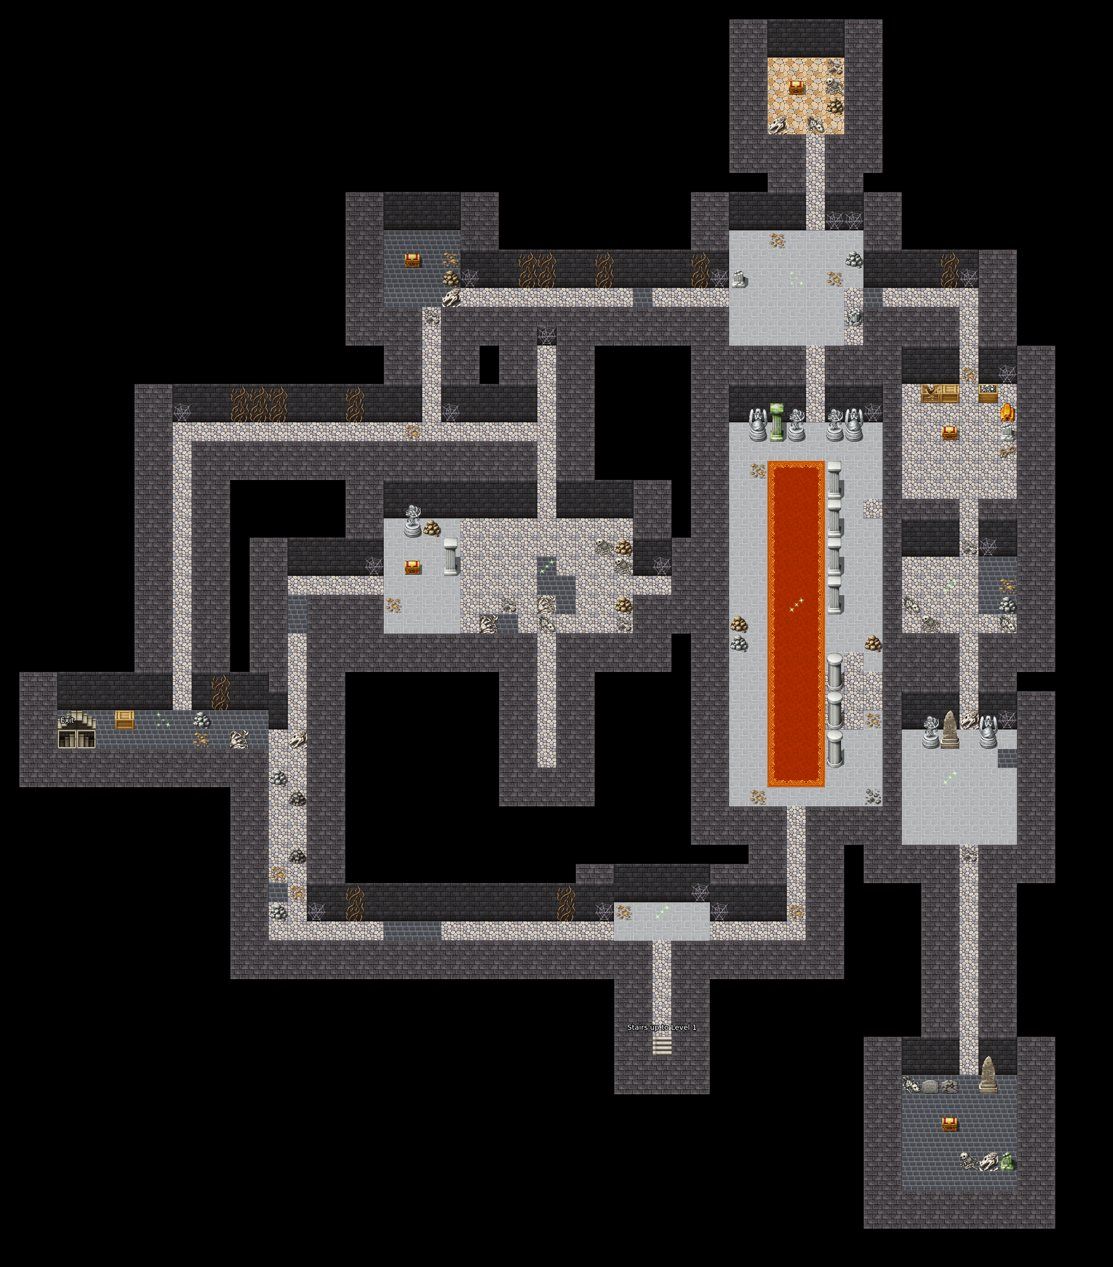
| Room | What you find |
|---|---|
| 17 The Pits | Wolves set as guards between the pits. |
| 18 Observation Room | Torches, lamp oil and a potion. |
| 19 Secret Hallway | Bombardier beetles. |
| 20 Outer Hallway | A gray jelly scouring the floor. |
| 22 Crossroads Room | Six hobgoblin explorers. |
| 23 Secret Room | 150 gold and a pouch of gems. |
| 24 Gnoll Lair | Gnolls with battleaxes; 90 gold. |
| 25 Weapon Room | Chain Mail +1 and a Longsword +1 in a cabinet. |
| 26 Ambush Area | Burial-wrapped ghouls burst from secret doors. |
| 27 Mural Room | Murals of barbarians bowing toward bronze doors in the south. |
| 28 The Tomb | Eleven skeleton warriors rise. Beyond them: the chieftain's golden Longsword +1 and 250 gold. |
Opening the tomb completes the quest. Climb out by the stairs to Level 1 or the rabbit-hole passage, then tell Bart.
Quest 3: Rescue Gwelayn
Giver: Kardon Karien, a merchant who bursts into the Toothless Dragon Tavern. Where: the Cave of the Unknown, under a wooded hill a few miles north of Morgansfort. Goal: free Kardon's daughter Gwelayn from the necromancer Starisel Zelinth and bring her home. Reward: 800 gold, everything Kardon has, and the Safe Return achievement.
"Orcs hit my caravan north of here and dragged my daughter Gwelayn and her maid into the forest."
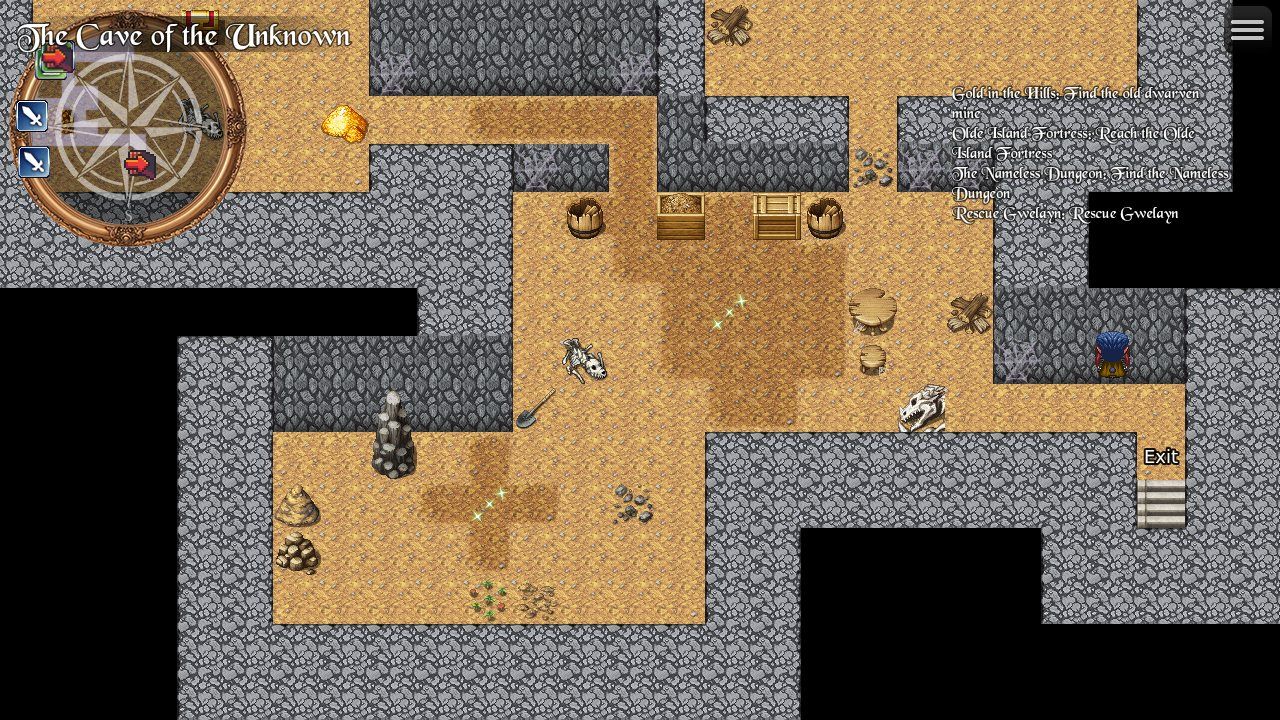
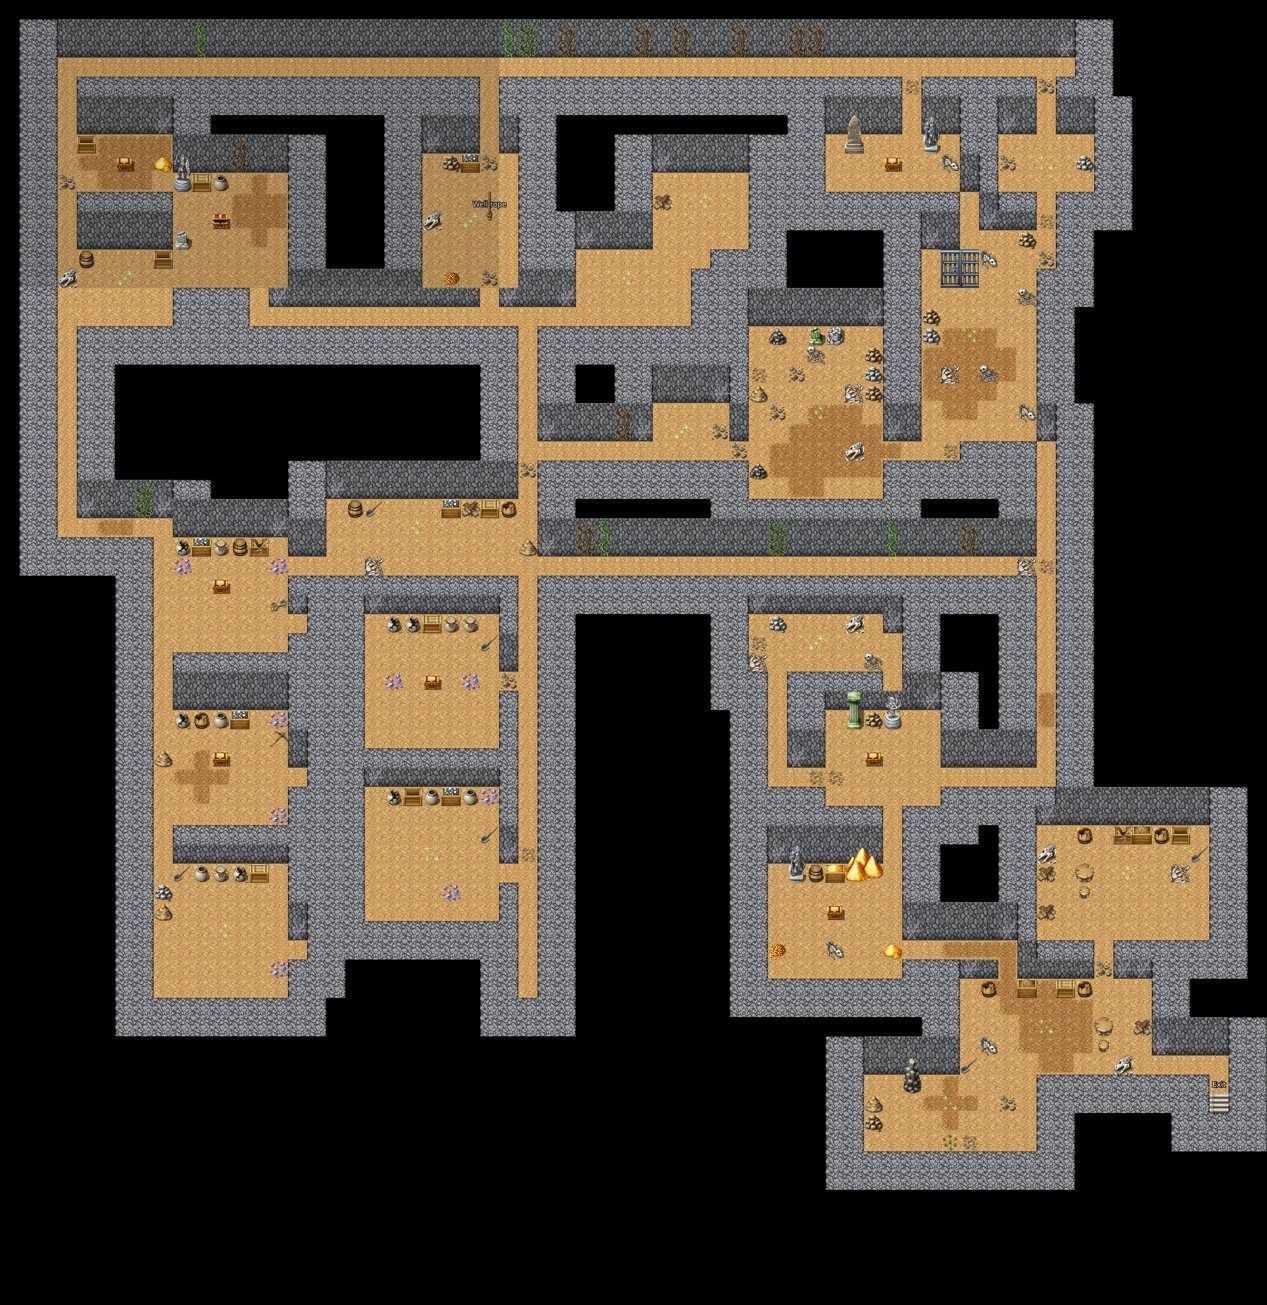
This is the hardest of the Morgansfort dungeons: orcs, an ogre, and the necromancer's undead. Go in at full strength.
| Room | What you find |
|---|---|
| 1 Orc Common Room | Orc warriors around a fire pit. |
| 3 Orc Females | Orc-women with short swords, and they will fight. |
| 4 The Chieftain's Chamber | Onyg the ogre and Badushna, the clever orc who leads the tribe; 450 gold. |
| 5 Grand Entry Room | The tribe's hoard: 220 gold. Double doors with bull-head carvings lead deeper. |
| 6 Poison Gas Trap | A portcullis slams shut and gas fills the passage. |
| 8 Prison | Scratched on the wall: "G. taken to the master." |
| 11 Common Room | A trapdoor drops you onto a tentacle worm. |
| 12, 14 Laboratories | Potions on the worktables. |
| 13 Laboratory | Green slime drips from the ceiling. |
| 15 Laboratory | A chained horror breaks loose; 120 gold. |
| 17 Dining Room | The skeleton of a great ape, swinging a cleaver. |
| 19 Well | A rope up the old well: a second way out. |
| 20 Study | Bats; 25 gold. |
| 21 Master's Bedroom | 80 gold, and a woman's shawl on the bed. |
| 22 Bodyguard's Bedroom | A long-toothed skeleton bodyguard. |
| 24 Anteroom | Ranks of armed skeletons. |
| 23 Altar Room | Starisel Zelinth and his guards. Gwelayn lies shackled on the black altar; 300 gold. |
When Zelinth falls the altar's runes go dark and Gwelayn is free. The altar stays quiet after that. Leave by the cave mouth or climb the well rope, then bring her to Kardon in the tavern.
Quest 4: The Nameless Dungeon
Giver: Captain Argos, senior officer of the watch, in the Garrison Barracks (upper floor). Where: a day's march north on the Old Road, the northernmost point of the world map near Morgansfort. Goal: find where the goblin war parties come from, and how deep it goes. Reward: 150 gold from the garrison, the Into the Nameless Deep achievement, and three levels of treasure.
"Goblin war parties have been seen on the Old Road, a day's march north. Scout it for me."
The ambush. On your first visit the goblins attack your night camp. Beat them and the fleeing survivors lead you to the dungeon's stairway.
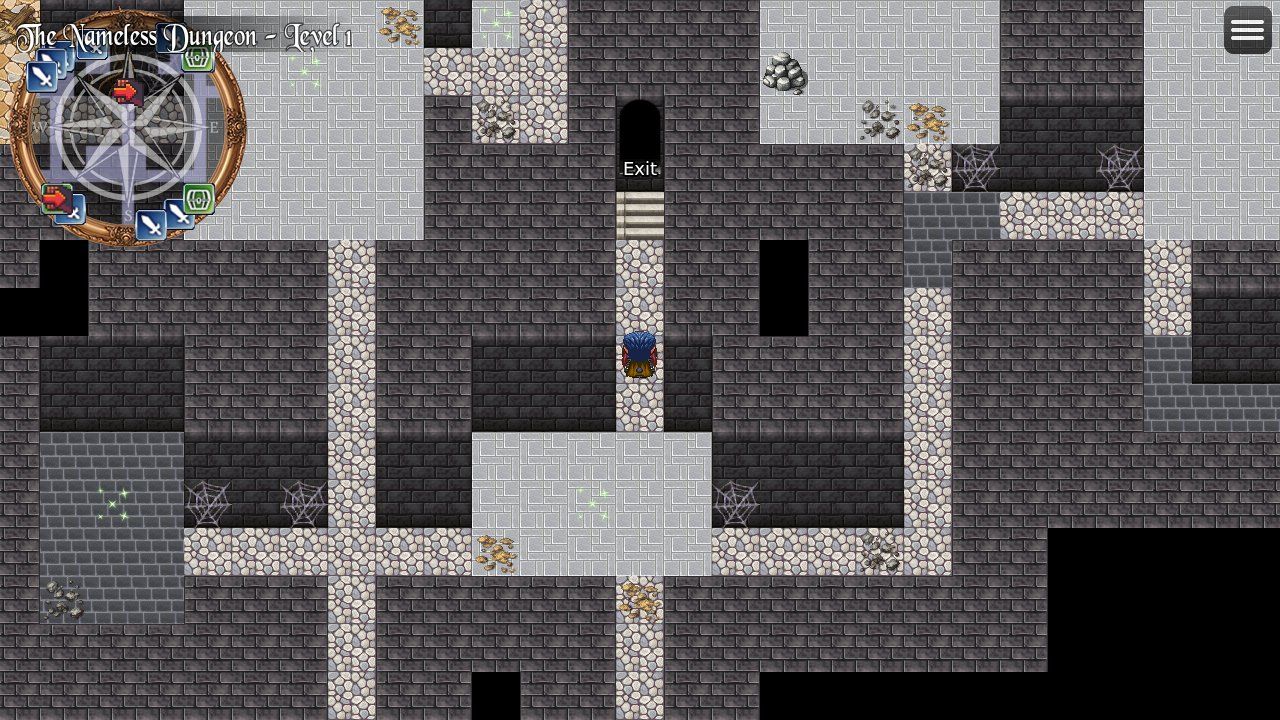
Level 1 (35 rooms)
Cobras, stirges, a giant shrew, a whole giant ant warren (rooms 11-15), fire beetles, spear-trapped skeletons, giant rats, bats, green slime, a gray jelly and a giant bee hive with its queen (rooms 30-31, with potions). Secret rooms hide 30, 120 and 200 gold (room 34: a statue of a spider over a web of gems). Watch for the crossbow trap (16), the spear trap (19), the dropping floor (26) and the pit (35).
The spiral stairs down are found through the secret doors near room 33. Finding them completes Argos's job; go back and collect your fee whenever you like.
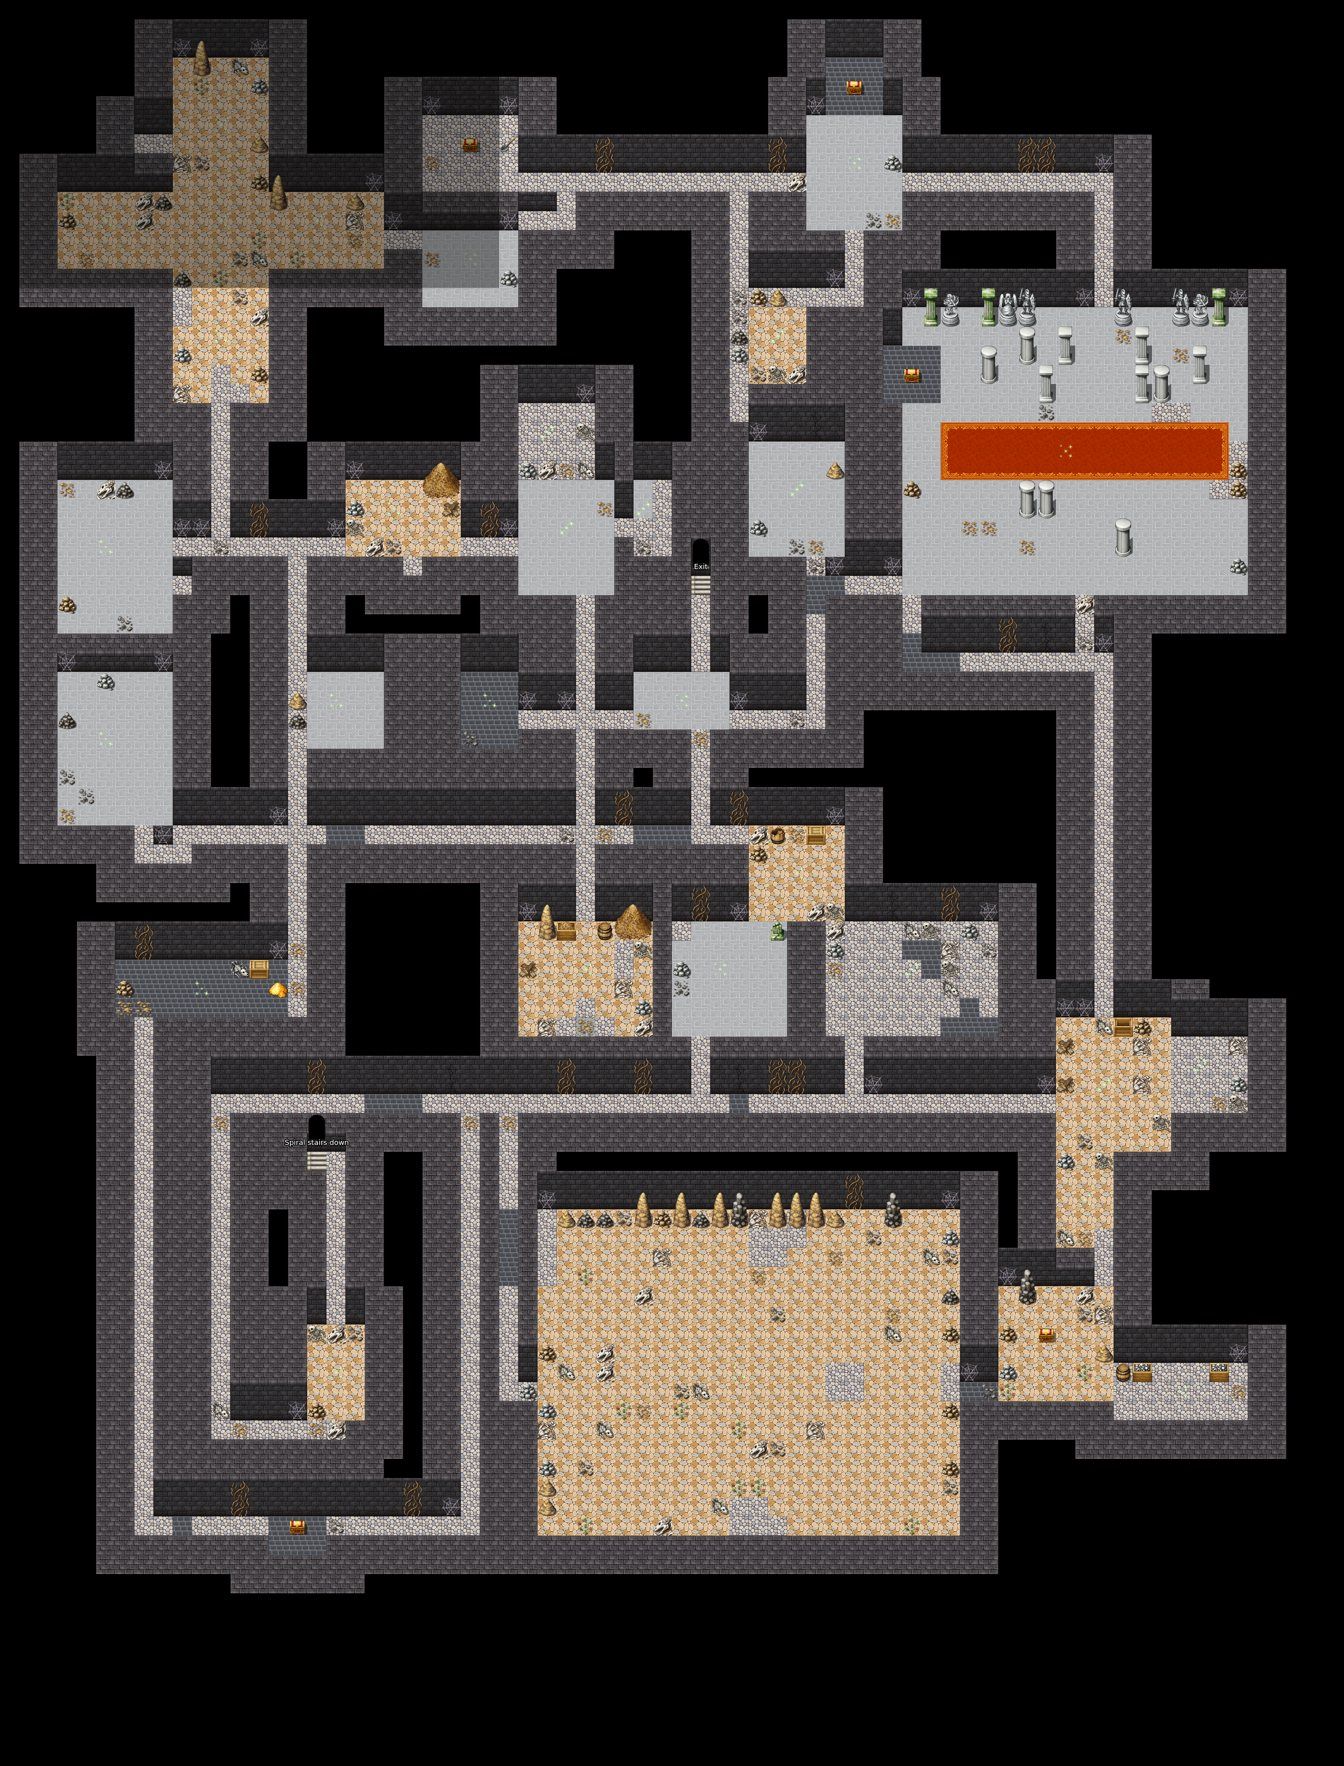
Level 2 (rooms 36-68)
An old chapel of the kneeling dead (46), a pool guarded by shriekers (47), giant draco lizards, pit vipers, giant flies, a giant black widow (66), a glass jelly (68) and ghouls, including those guarding the sleeping elf princess (60). Yellow mold (54) and a dart floor (50) wear you down. The stairs down to Level 3 are west of the entry corridor.
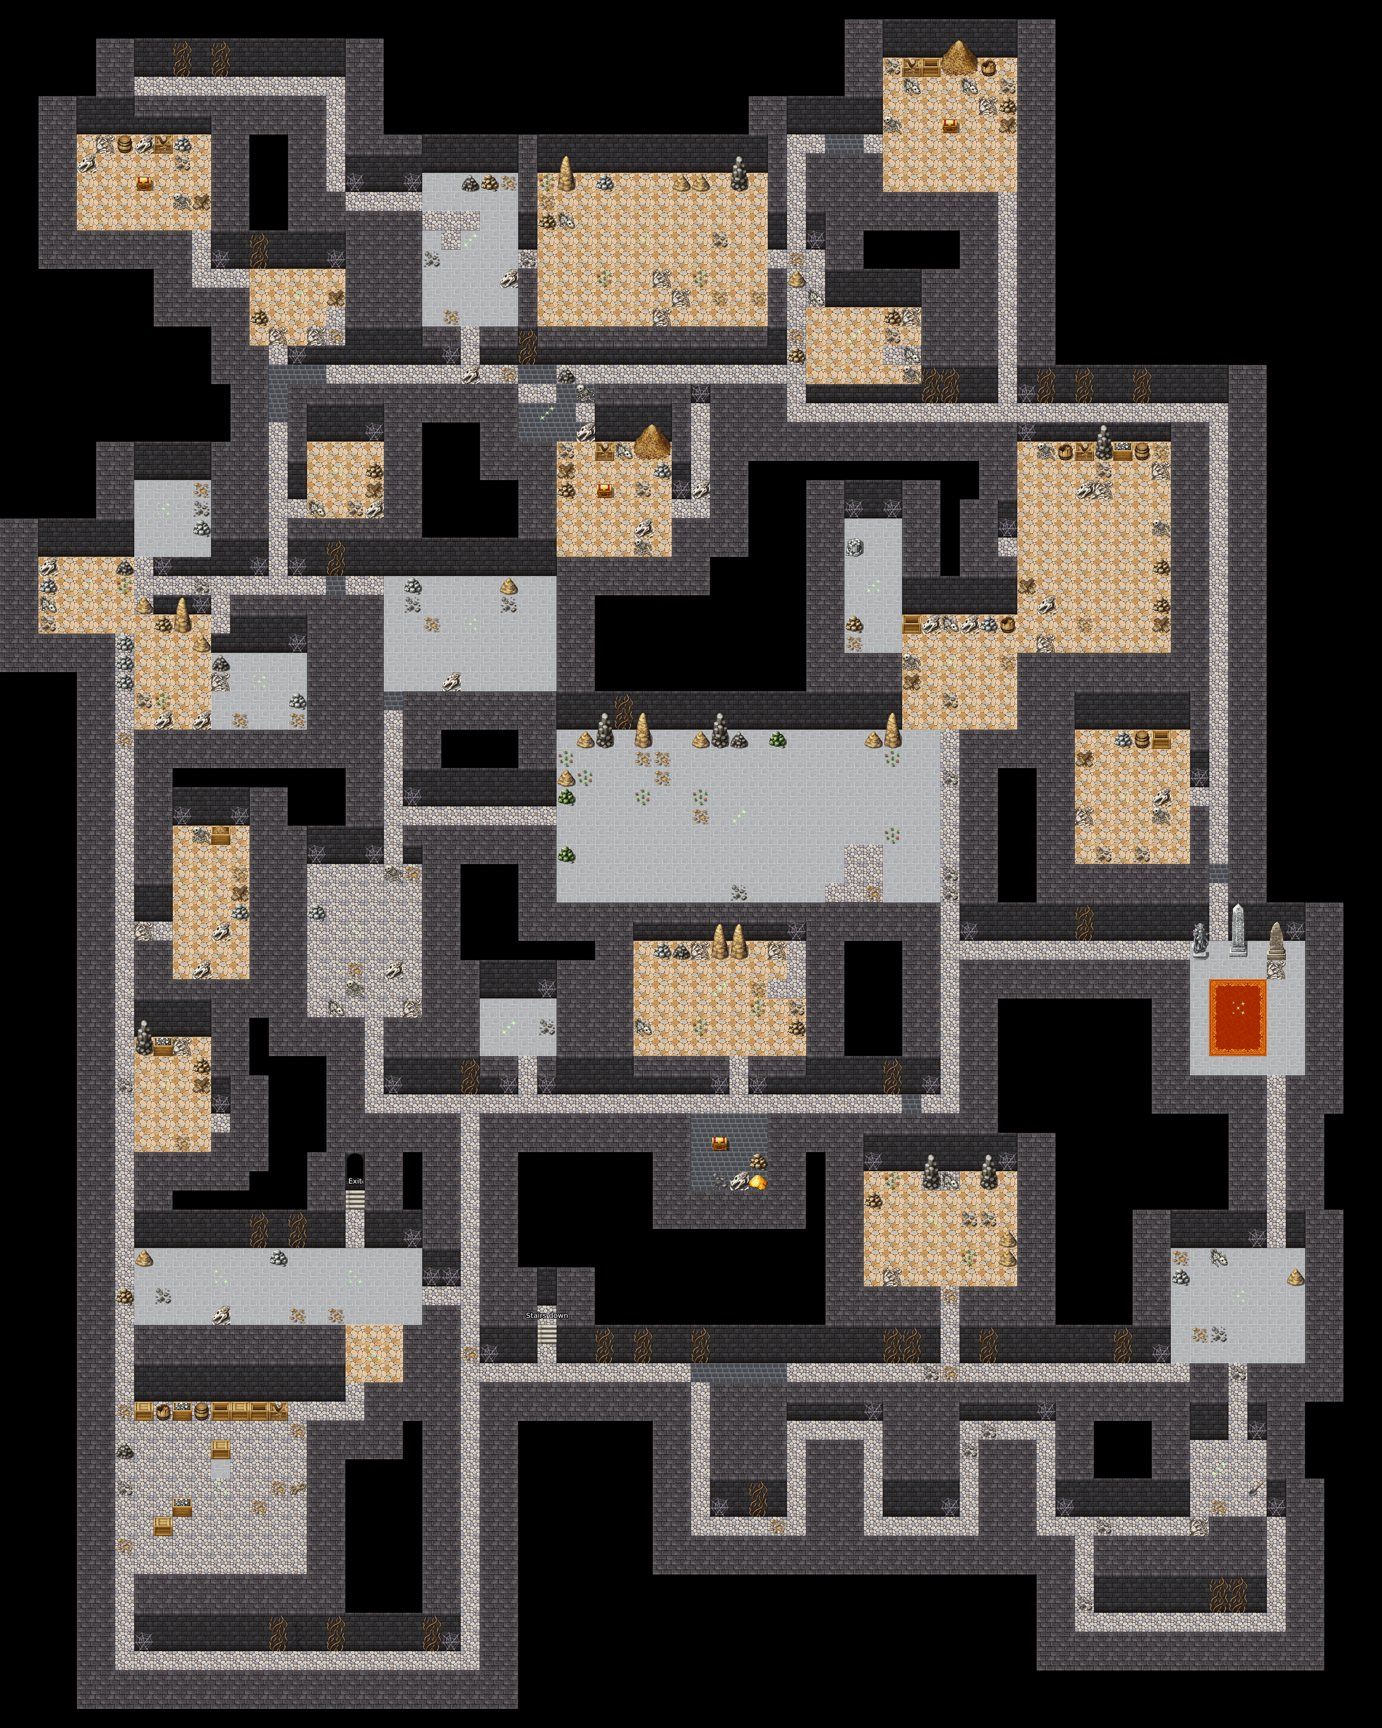
Level 3 (rooms 69-87)
An ochre jelly waits in the first hallway (69); weapons and lightning split it. Living shadows haunt the Statue Gallery (71, 150 gold). The Evil Temple (73) swarms with giant ants and holds 500 gold and a Large Healing Potion. Avoid lingering in the Oven (75) and the Compactor (83). Carnivorous apes, a giant tarantula, tiger beetles and a gargoyle (85, 200 gold, immune to ordinary weapons) guard the rest.
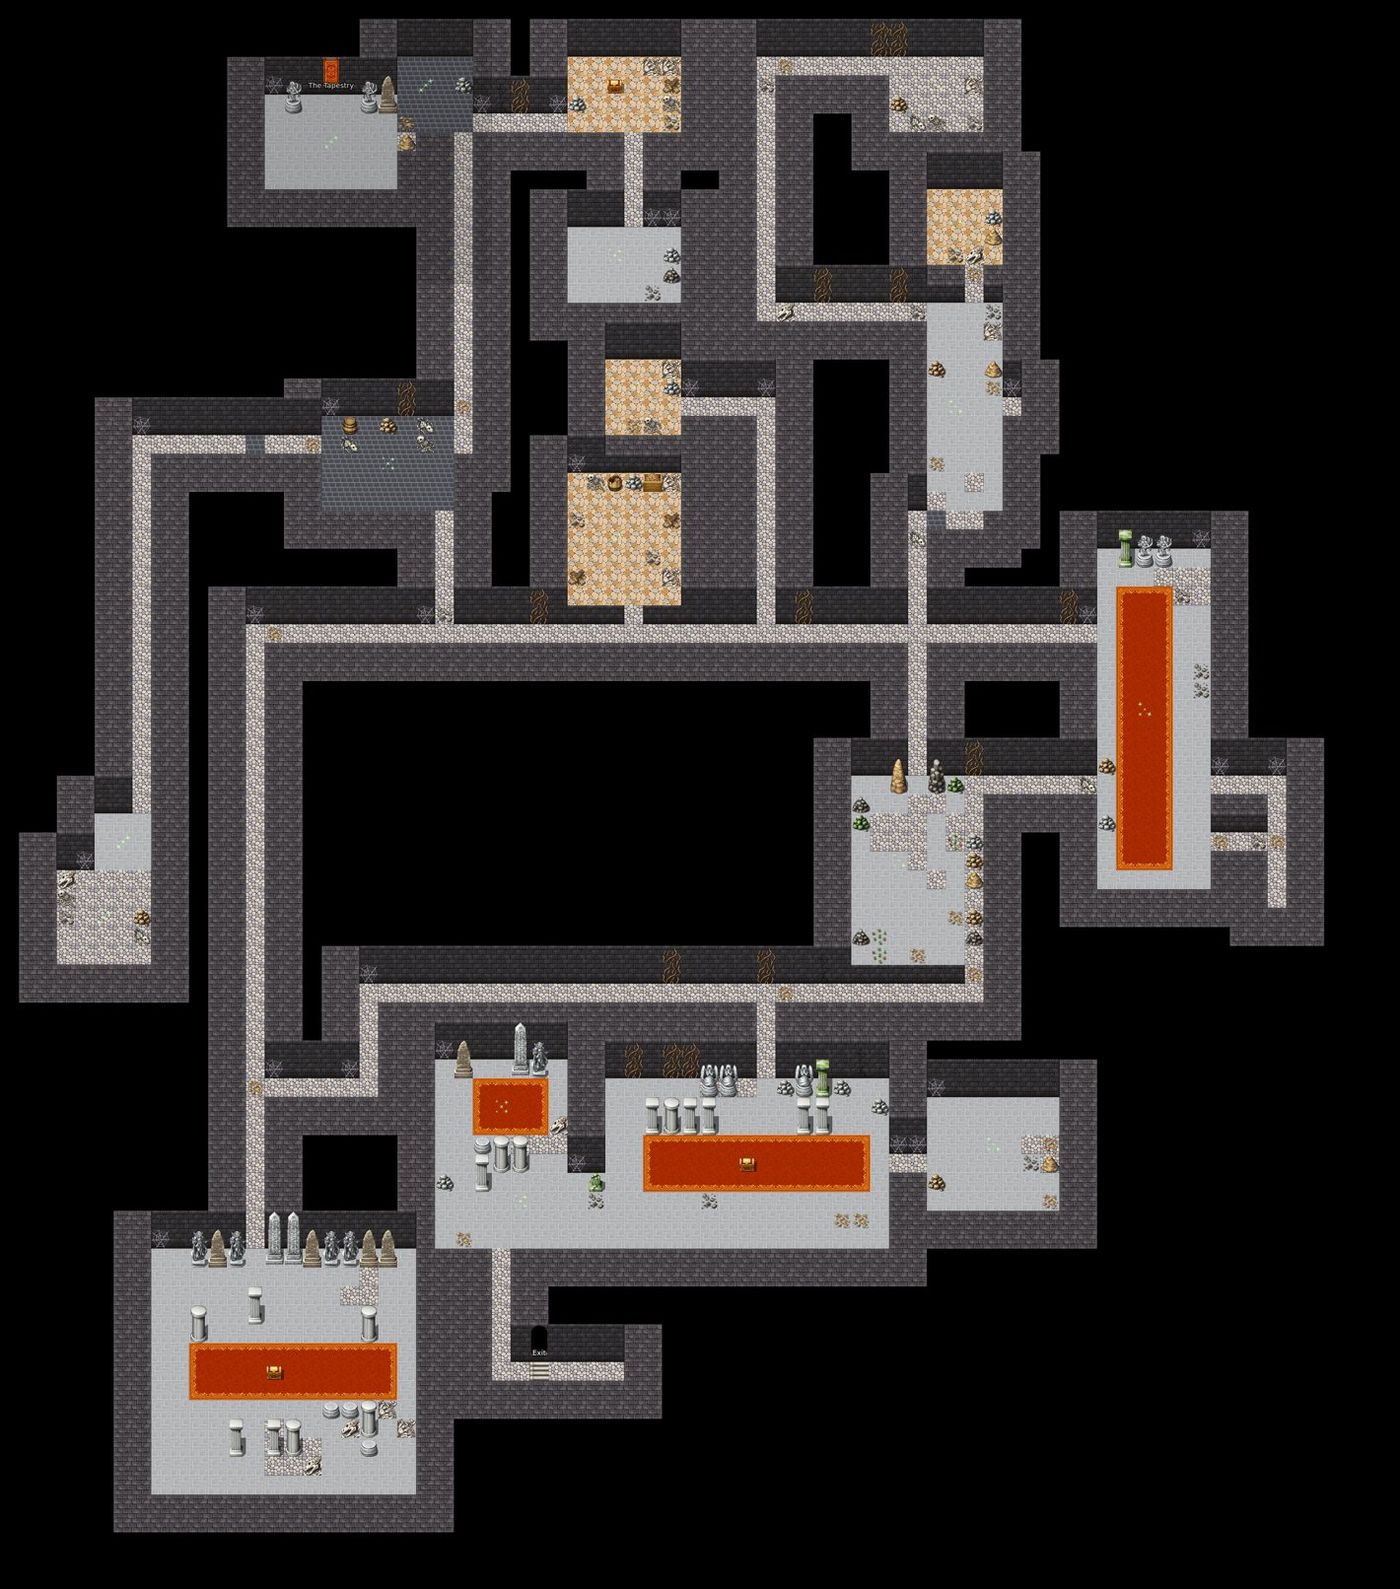
The Library (room 88)
In the Tapestry Room (87), read the verses woven into the great tapestry: a door opens into a hidden library.
- Left bookcase: the Ancient Treatises, worth 5,000 gold to a buyer.
- Right bookcase: covered in yellow mold. Leave it.
- The table: search it for the Elvish Spectacles (read any language). Searching takes time, and the yellow mold may burst: everyone saves or suffers. You find the spectacles either way.
The door at the bottom of the Library leads back through the tapestry.
Quest 5: Proof of Worthiness
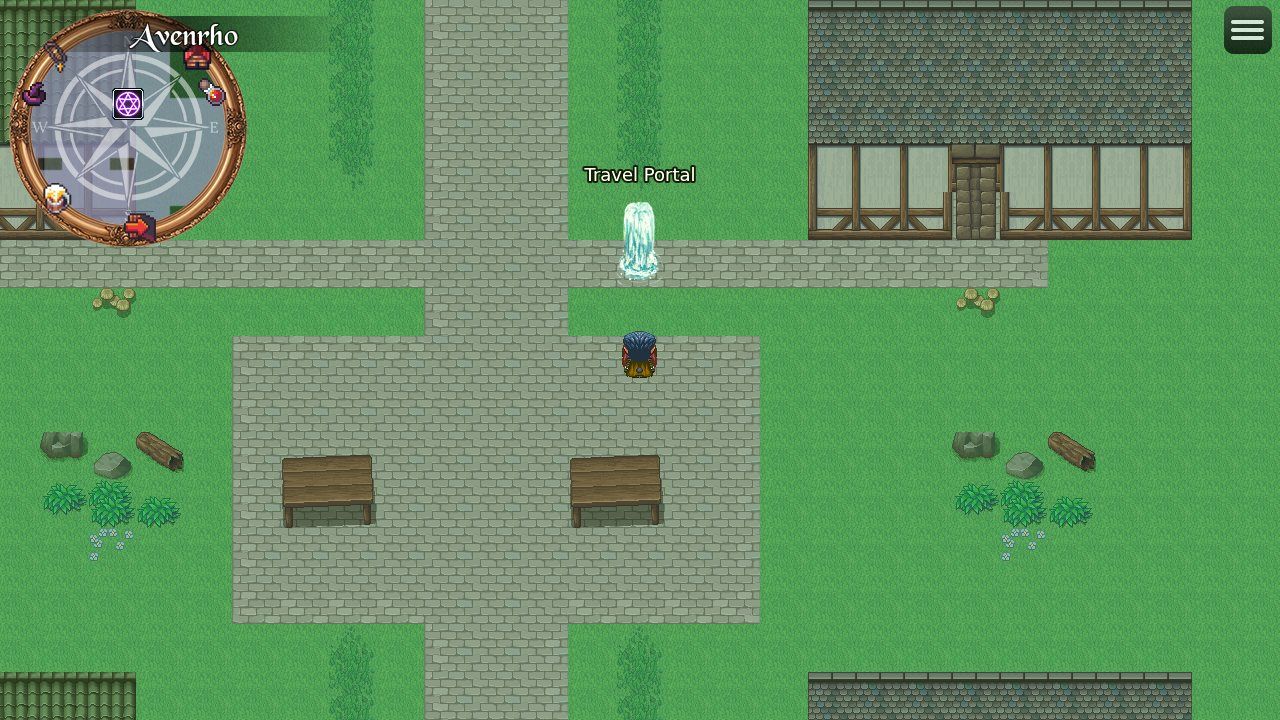
Giver: Warden Sylthir, an Elf ranger at the edge of the Sentinel Wood, by the Avenrho dock in the far west. Goal: drive off three wolf packs troubling the Elvish scouts. Reward: the Elves' trust: the Sentinel at Avenrho's gate lets you into the city.
"Avenrho does not open its gate to outsiders lightly... drive off three packs, and I will vouch for you at the gate."
The wolf pack lairs right beside the warden; each fight counts one pack (the tracker shows Wolf packs driven off: n/3). After the third, report back to Sylthir, then present yourselves at the gate. Without her word, the Sentinel turns you away.
Quest 6: The Pirate King
Giver: Harbor Captain Wrenlow, on the coast near Slateholm. Goal: clear Pirate Island, board the Pirate King's flagship, free his captives and end him. Reward: everything you find in his hold, the gratitude of every free city on the coast, and gold throughout.
"The Pirate King's fleet has been raiding every ship out of Slateholm, and taking the refugee boats fleeing Ravenstone's slavers."
Pirate Island: the Shore
Land on the black sand and follow the jungle trail. Pirates hold a lookout post (3) and a shore camp (7); the camp strongbox (8) holds 180 gold. A crumbling shrine (5, 60 gold) and a grotto behind the waterfall (10, 90 gold) reward the curious. The cave mouth in the cliff (9) leads down to the sea caves.
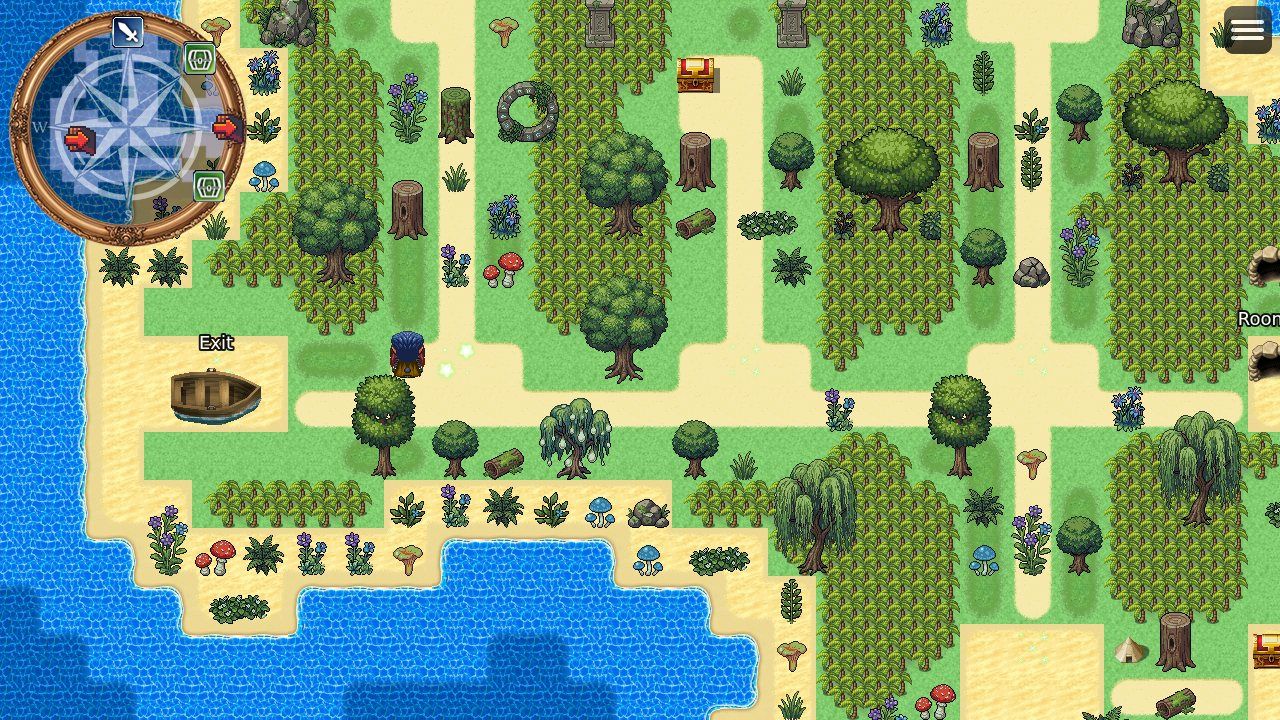
The Sea Caves
Bats (3), a guard post of pirates (5), an underground pool (4, 70 gold) and the Smuggler's Cache (6, 220 gold). The tunnel opens onto the Hidden Cove, where the flagship rides at anchor. Climb the ladder to board.
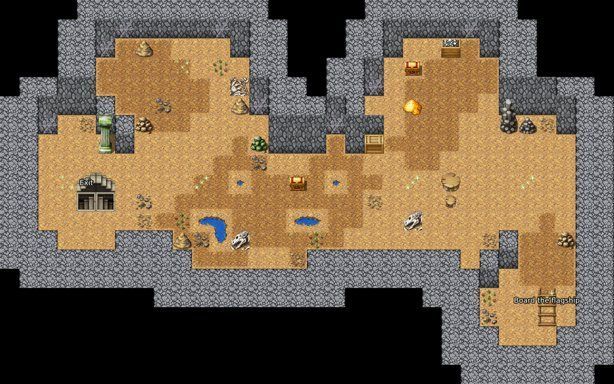
The Flagship: Main Deck
You come aboard by the rope ladder over the side, where a jolly boat waits to take you back. Fight through the crew quarters (3) and the gun deck (5); the galley (4, 50 gold) and the Captain's Stores (6, 150 gold) hold the loot. The companionway hatch at the bow (Room 7) leads below.
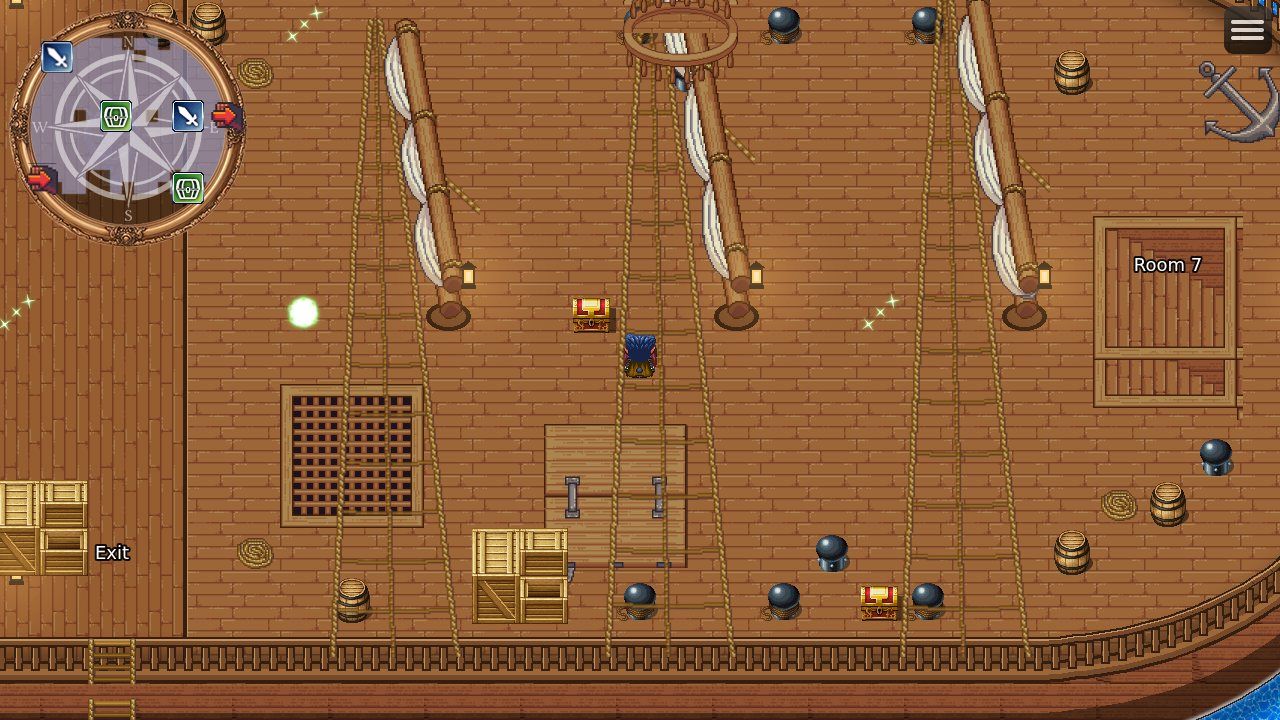
Below Decks
Free the captives in the Brig (2). Fight the pirates guarding the powder magazine (3), take the officers' strongbox (4, 130 gold), and follow the lantern-lit corridor (5) to the Pirate King's Cabin (6).
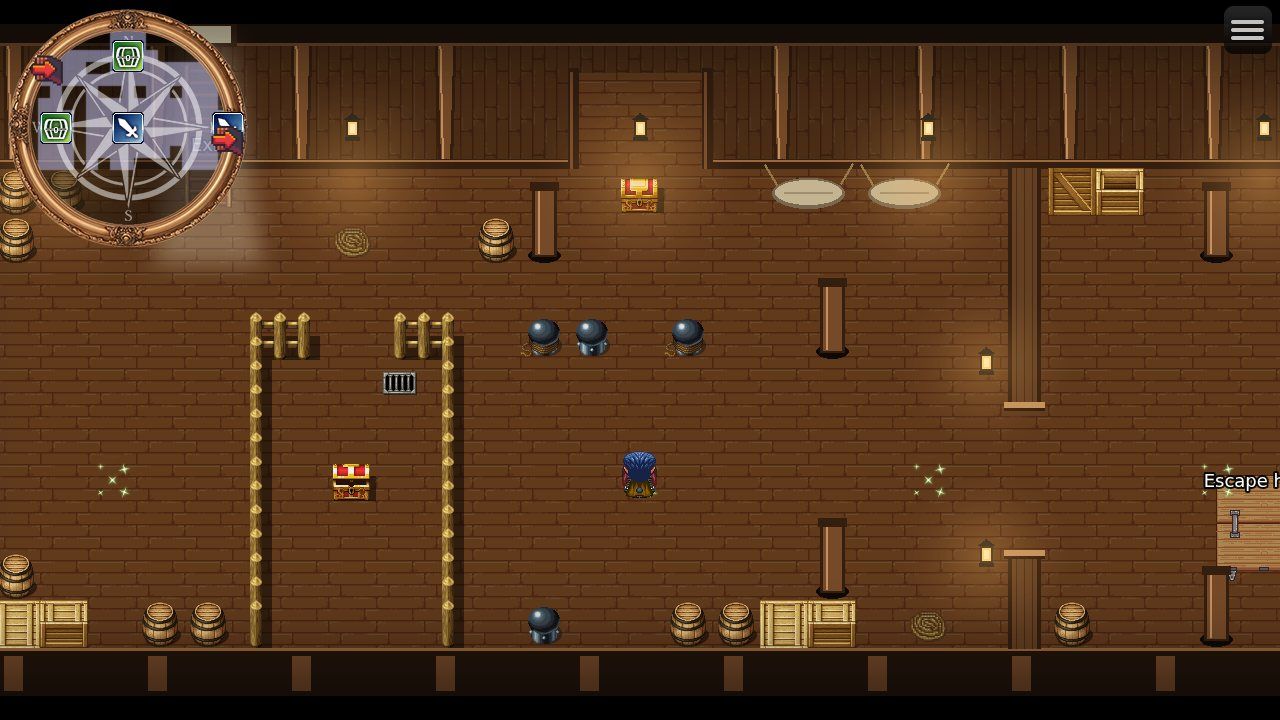
The Pirate King fights beside two Pirate Gunners and lands a punishing Heavy Strike. Heal early, keep your front line topped up, and focus him down. The escape hatch in his cabin floor is barred from below, and the Pirate King keeps the only key: you will not leave this way until he falls. Once he does, take the hatch with the freed captives and return to Wrenlow.
Beyond the Quests
- Visit every city and use its Travel Portal to move between them instantly.
- Hear the tavern rumours in each city; they tell the history of the Western Lands (see Backstories).
- The Mystic and the Magic Shops carry better stock as your party grows in level.
Credits
CoolRPG Volume I is made by James Barrett and Xinle, LLC with RPG Maker MZ. Dungeons and adventures are adapted from BF1 Morgansfort: The Western Lands Campaign and AA1 Adventure Anthology One by Chris Gonnerman and Contributors, licensed CC BY-SA 4.0 (basicfantasy.org). Pirate Island is original to this game. Maps and screenshots show art by Celianna, WinLu, PVGames, Rasak, bluecarrot16, Sevarihk and the RPG Maker MZ standard resources; see the in-game Credits for everyone.
Guide text © 2026 Xinle, LLC. Adventures adapted from BF1 Morgansfort and AA1 Adventure Anthology One (Chris Gonnerman and Contributors, CC BY-SA 4.0); this guide is shared under the same licence. Screenshots show art by the creators listed under Credits.